


Chef Luke Adams shares three delicious Māori dishes.
As he whipped up an on-trend beetroot and farro concoction in the kitchen of a cafe in Auckland’s Newmarket, Luke Adams talked us through how to make something very different — the kai he was raised with.
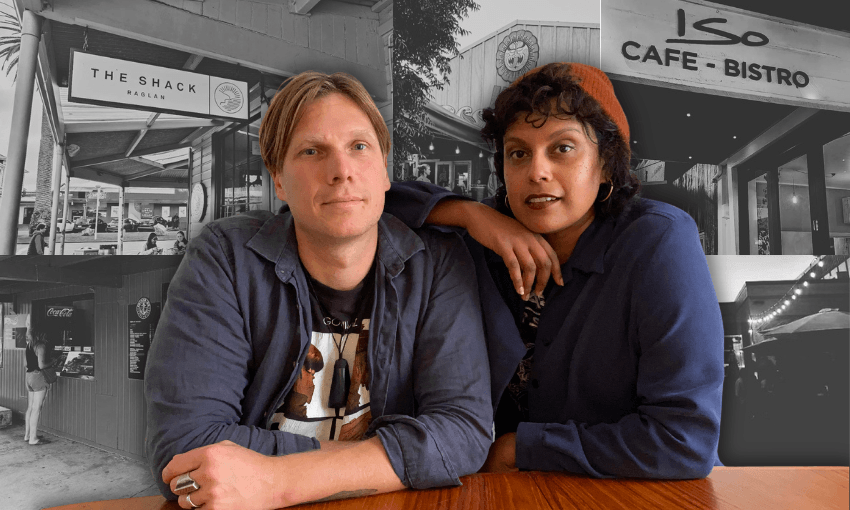
Adams (Te-Uri-o-Tai hapū, Te Aupōuri iwi) is head chef at L’affare Melrose. He grew up in Manurewa, South Auckland, but home is the isolated, beautiful community of Pawarenga on the Whangape harbour, north of Hokianga in the far north.
When he was a teenager, Adams went to chef school in Ōtara and around that time, became interested in learning how to make traditional Māori food.
“I tried to get recipes off my aunties and they’d be like, ‘Oh, you know that green container I’ve got, it’s a bit of that in there, and you know that special spoon of mine…’
“It was quite frustrating as a young chef — like ‘well how many teaspoons?!’ But they were more than willing for me to come along and do it with them. It’s learnt, not told.”
These days, his 8-year-old daughter Huia is in the Māori immersion unit at Newton School and Adams is in charge of the food for gatherings and events, such as the recent kai hākari that followed the school’s dawn walk up Maungawhau (Mt Eden) in honour of Matariki.
“As a kid, all these old traditions were bloody beaten out of you,” he says. “When I was younger I remember feeling bummed out for being Māori.”
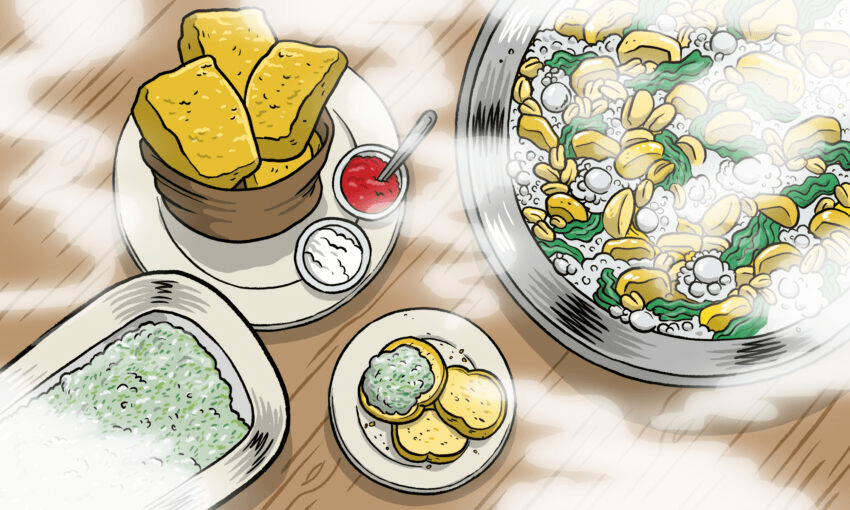
If you want to have you own hākari to mark Matariki, try Adams’ recipes for fry bread, creamed pāua and boil-up below.

FRY BREAD (FROM TE TAI TOKERAU)
Different areas have different ways of making fry bread, but this is how Adams’ whānau does it.
15g dried yeast
15g sugar
550ml warm water, plus more if needed
15g salt
1kg flour
neutral oil, such as soy bean or canola, for frying
Mix the yeast and sugar into the warm water and let it foam. Mix the salt with the flour, then pour the yeast mixture into the flour and mix until combined.
Knead for 5 minutes or so then put into an oiled bowl to prove until the dough has doubled in size (if you want to speed up the process, put it in the hot water cupboard or on top of the oven).
At this point, add a couple of centimetres of oil to a wide frying pan or saucepan and set over a very low heat for an hour or so while the dough rises. (If you have a deep fryer, use that instead.)
Once the dough has doubled in size, tip it out onto a floured bench, knock it back and roll it out to just over 1cm thick. Cut the dough into triangles and/or squares about 5cm x 5cm in size, and keep the offcuts to use as tester pieces.
Put the fry bread shapes on a tray and leave to prove for another hour or so (this is important because it creates an air pocket in the middle of the dough).
By this point, the oil should have heated to about 175°C (test it if you have a thermometer, or use the dough offcuts to test. Depending on thickness, they should take 1-2 minutes to puff up and turn golden, then flip them over and let the other side cook for 1-2 minutes. Remove from the oil with a slotted spoon and drain on paper towel. Test them to see if they’re cooked in the middle.)
When you’re confident the oil is at the right temperature, add the fry bread in batches and cook for 1-2 minutes on each side, depending on thickness. Remove them from the oil with a slotted spoon and drain on paper towel.
To eat, dip them into sugar and/or serve with butter and jam. Or serve with creamed pāua (recipe follows).
CREAMED PĀUA
Creamed pāua and fry bread “is probably the best meal in the fucking universe”, Adams says. “Pāua is the truffle of the sea — there’s nothing like it.”
25g butter
a splash of neutral oil
3 good-sized pāua, minced, sliced or diced finely
½ medium onion, diced
3-4 cloves garlic, minced
2 cups cream (reduce or increase to your taste)
Heat the butter and a splash of oil (the oil will stop the butter from burning) in a frying pan. Add the pāua, onion and garlic and fry slowly over a low-medium heat for about 30 minutes, constantly stirring (you don’t want it to colour too much) until the pāua is semi-tender to the bite.
Pour over the cream, stir and bring to the boil, then turn down to a simmer and let it reduce by a quarter. Season with salt and pepper, serve and eat with fry bread.
BOIL-UP
You’ll need a big pot for this — somewhere between 11 and 20 litres.
For the boil-up
1kg bacon bones
1 pork hock
1kg brisket, cut on the bone (the pieces should be about the size of your palm)
1 onion, roughly diced
2kg agria potatoes, peeled, diced into 5cm cube
1kg purple kūmara (other varieties don’t withstand the cooking), peeled, diced into 5cm cube
2-3 bunches of wild watercress with thick stalks, or use white cabbage
For the doughboys
pinch of salt
1 cup flour
50g cold butter, diced
2/5 cup milk (100ml)
Rinse the meats under cold running water then put them into a big pot with the diced onion (don’t add salt as the bacon bones will already be salty).
Cover with twice as much cold water, cover with a lid and bring to the boil, then turn down to a simmer and simmer for 3 hours, until the pork hock is falling apart.
Meanwhile, to make the doughboys, add the salt to the flour and rub in the butter (or blitz in a blender) until the texture is like coarse sand. Add the milk and just combine — don’t over-mix.
Either roll out the mix and cut into squares or pinch off little balls and roll them into oval shapes about half the size of an egg.
Add the potatoes and kūmara to the boil-up and cook for 20 minutes.
Stuff the watercress in the top of the pot, so there will still be room for the doughboys (if it’s too full, remove some liquid). Nestle the doughboys into the watercress, cover and steam for 10 minutes.
Once the doughboys are cooked, spoon everything out onto a large roasting tray and pour a little of the liquid over. (You can add cream too, if you like.) Season as you eat.